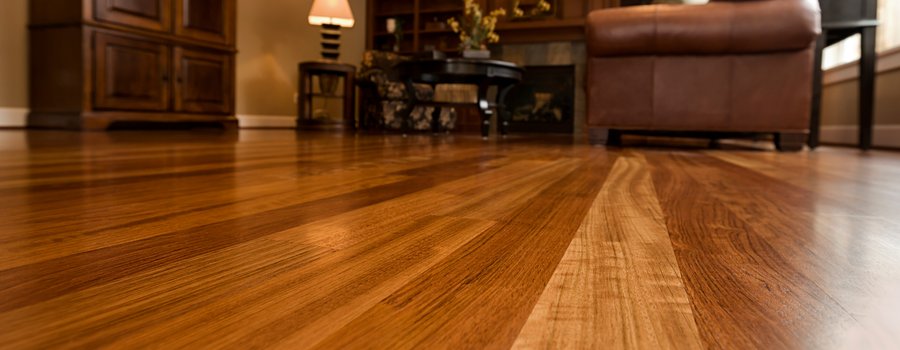
In modern homes, condos as well as in ancestral homes, it is difficult to find a material that can compete with the richness and warmth that a wooden floor can provide.
Whether your floor is hardwood, engineered wood or parquetry, its finish, whether it's oil or varnish, will have long-term impacts, including on the shine (matte vs. satin), the warmth and the enhancement of the depth of the wood grain. But above all, the most important factor to consider when choosing the type of finish for a wood floor is the maintenance and restoration process associated with it.
In this first article of a series in preparation on the finishing of wooden floors, Ardec prepared this (hopefully) friendly guide for both neophytes and experienced users that will accompany you through the different stages involved when finishing a new floor or to restore a previously oiled or varnished floor, in order to protect it with an oil-based finish.
We will begin by exploring the different types of wood flooring, then compare oils and varnishes. Then, we'll talk about choosing colors and the importance of taking advantage of samples to perform color tests before beginning a finishing project.
Once the theory is complete, we'll move on to preparing the floor, then comparing the different oil finishing options and how to apply each of them. We'll end this guide with a crucial but unfortunately often overlooked step, which is how to care and maintain your oiled floors, something that will dramatically extend the lifespan of any oil-based finish.
Once you are done with this guide, you should be able to fully understand how to successfully restore and finish your floors, while also knowing how to take good care of them!
- Different types of wooden floors
- Oil or varnish?
- I decided to go with oil for my wooden floors. Where to start ?
- Considering finishing your wood floor with finishing oils?
Different types of wooden floors
As mentioned in the introduction, it is generally agreed that there are 3 different types of wood floors found in both modern homes/condos and ancestral houses nowadays.
Hardwood floor

In modern, recently built homes, one will usually find floorboards made from native wood species, such as birch, maple, walnut, as well as some oak, beech and ash. You'll also find exotic species, such as Bamboo, Ipe, Jatoba (also known as Brazilian Cherry), as well as Teak, although the latter is increasingly rare, since its export is restricted or illegal in a growing number of countries.
In country houses, cottages or ancestral homes, one will usually find planks made from softwoods, such as white pine, red pine, larch and spruce.
Engineered floor
Also known as laminate flooring, engineered flooring is widely used in modern condos and homes. This type of floor is built from slats made up of several layers of thin glued wood or high density fibers, to which a thin layer of hardwood is added on the surface.
Engineered floors are easy to install, very strong and stable floors that offer a good resistance to moisture, which explains their popularity in new constructions.
However, since the layer of real hardwood on the surface is thin, an engineered floor can only undergo a limited number of sanding. For this reason, it's best to have them oiled rather than varnished, since a properly maintained oiled floor will not require sanding over the years, compared to varnish.
Parquetry (marquetry)
A parquet is a floor made up of an assembly of wooden slats. It differs from previous floors in that it is usually made of panels, small planks or inlaid elements (wood veneer cut in a pattern, where the grain of the wood usually goes in several directions).
Parquets can be made entirely of wood, but modern floors are also available in engineered wood. In the latter case, oil will also be preferred to avoid having to sand and thus shortening the life of the floor.
Different types of floors and oil finishing
The type of wooden floor has no impact on the type of product to use, nor on its application. However, certain very dense wood species, such as maple and Ipe, require special preparation before applying a finishing oil in order to allow proper oil penetration into the wood fiber. These exceptions for particularly dense woods are usually specified by manufacturers of finishing oils on their product's technical data sheets. On the other hand, since varnishes form a layer on the wood surface, the essence of your wood is irrelevant. The application process will not change no matter what.
Oil or varnish?
We mentioned it at the beginning of this article: Choosing to finish your floor with either oil or varnish has significant impacts, not only on the style, but also in terms of application, durability, and above all, the maintenance and repair of your floors afterwards. Let's take a closer look at these different elements.
A matter of taste
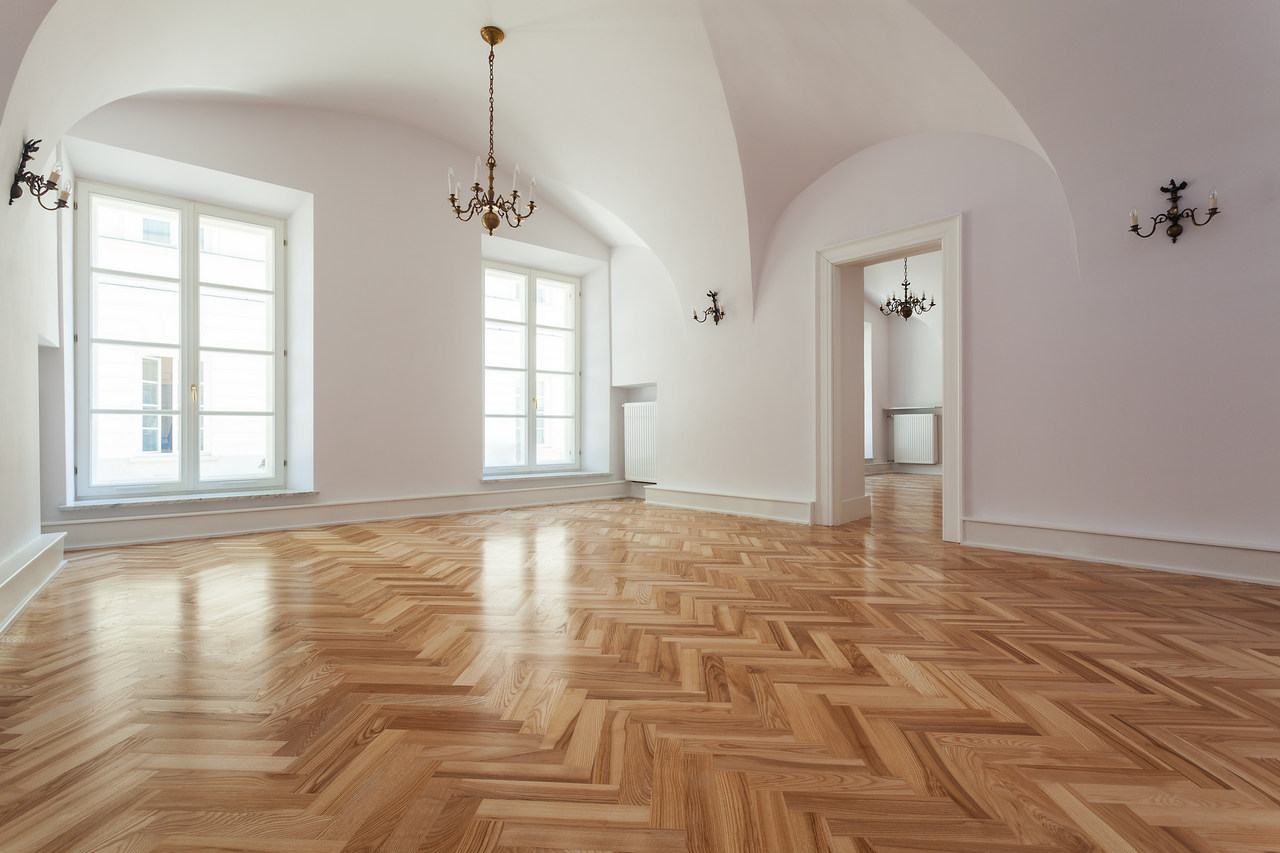
While varnish is a protective coating that dries on the surface of the wood, finishing oil usually penetrates into the wood fibers and crystallizes there. For this reason, varnish will have a brighter, more radiant effect of absolute cleanliness, which is greatly appreciated by varnish aficionados. Varnish will also retain the natural color of the wood, while oil will slightly darken the wood, giving it a light wet effect. Additionally, oil will provide a finish that will appear more natural, warmer, and that emphasizes the depth of the wood grain, since there will be no film on the surface. Likewise, scratches or marks on a varnish will be much more visible, since the latter is found on the surface of the wood.
In summary, these two types of finishes provide different end results, and there is no best solution. However, when it comes to application, durability, maintenance and repair, we believe that finishing oil is ahead of the game. Here's why.
Application
Contrary to popular belief, applying a varnish is not a very complex process. On the other hand, this work is usually entrusted to professionals, because despite a relatively simple procedure, it does not leave any room for mistakes, especially when it comes to sanding errors. Additionally, varnishes tend to dry faster than oils, leaving less time to correct potential mistakes.
Finishing oils are much more often applied directly by consumers. Although errors are also possible, they can usually be corrected (as long as you don't wait too long!). Furthermore, most problems are usually caused by people in a hurry who either do not take wood preparation seriously or who do not bother to carefully read the manufacturer's instructions (or technical data sheet) before beginning their project.
In short, oil and varnish can both be applied directly by consumers, but oil is usually more forgiving of mistakes. The important thing to a successful floor finishing project is to ensure that the wood has been properly sanded with the appropriate grit before application, and to religiously follow the application and drying instructions.
Of pets and shoes: Let's talk about resistance
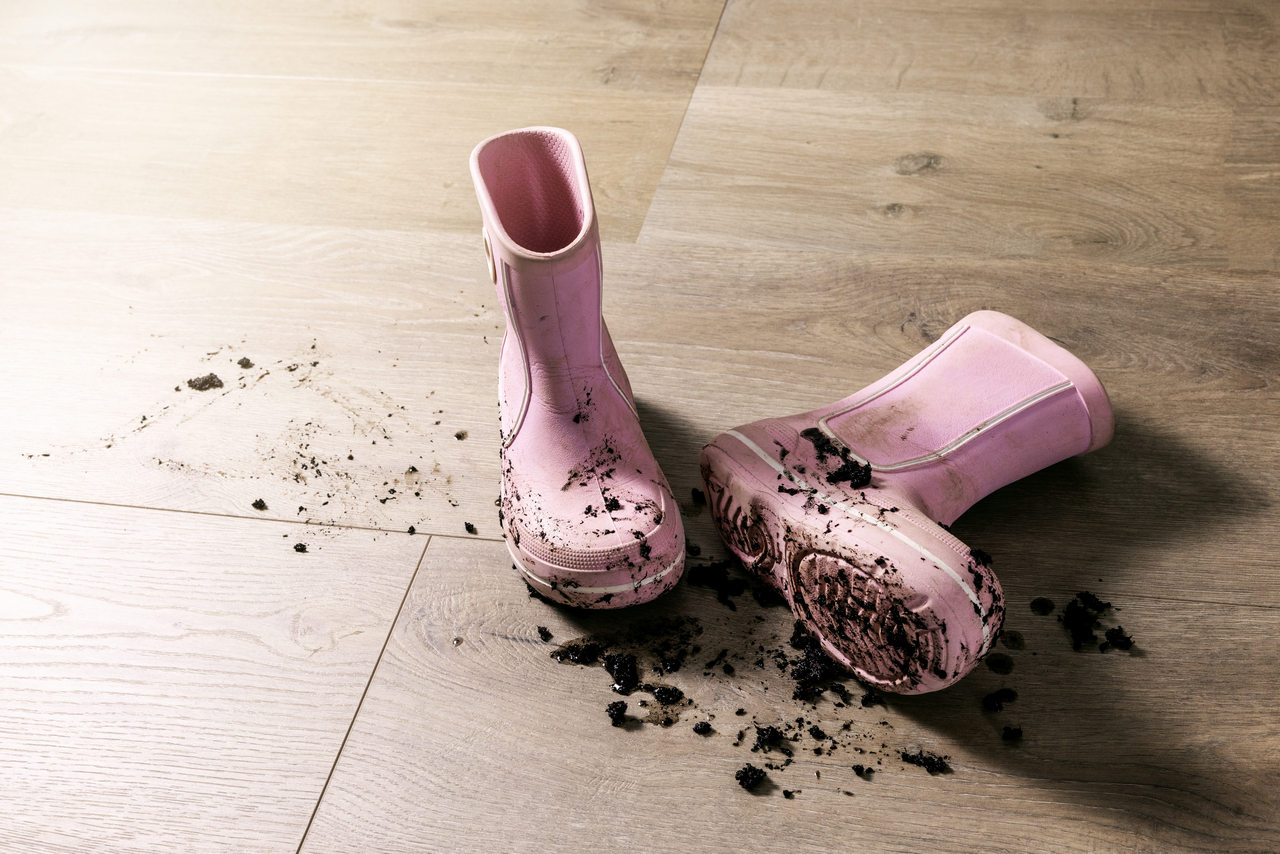
Both varnished and oiled floors provide excellent protection to wood floors. If properly cared for, varnished and oiled floors will have a good lifespan. However, under certain conditions, it may be preferable to opt for an oiled floor.
For example, people who do not take their shoes off indoors would benefit from favoring oil. Since the varnish forms a layer on the surface of the wood, additional friction caused by shoe and boot tread soles as well as abrasives such as sand, pebbles or other debris can damage the coating and these marks will usually be quite noticeable, since they contrast with the intact areas which are much brighter and more radiant. Ditto for pet owners, whose best friend's claws might leave visible marks that cannot be easily corrected. Not to mention that should a particularly stubborn doggo were to pierce the layer of varnish, then it is truly over: The only possible repair will be to sand the whole floor and reapply varnish. When dealing with varnished floors, a localized repair will always present a difference in color and gloss.
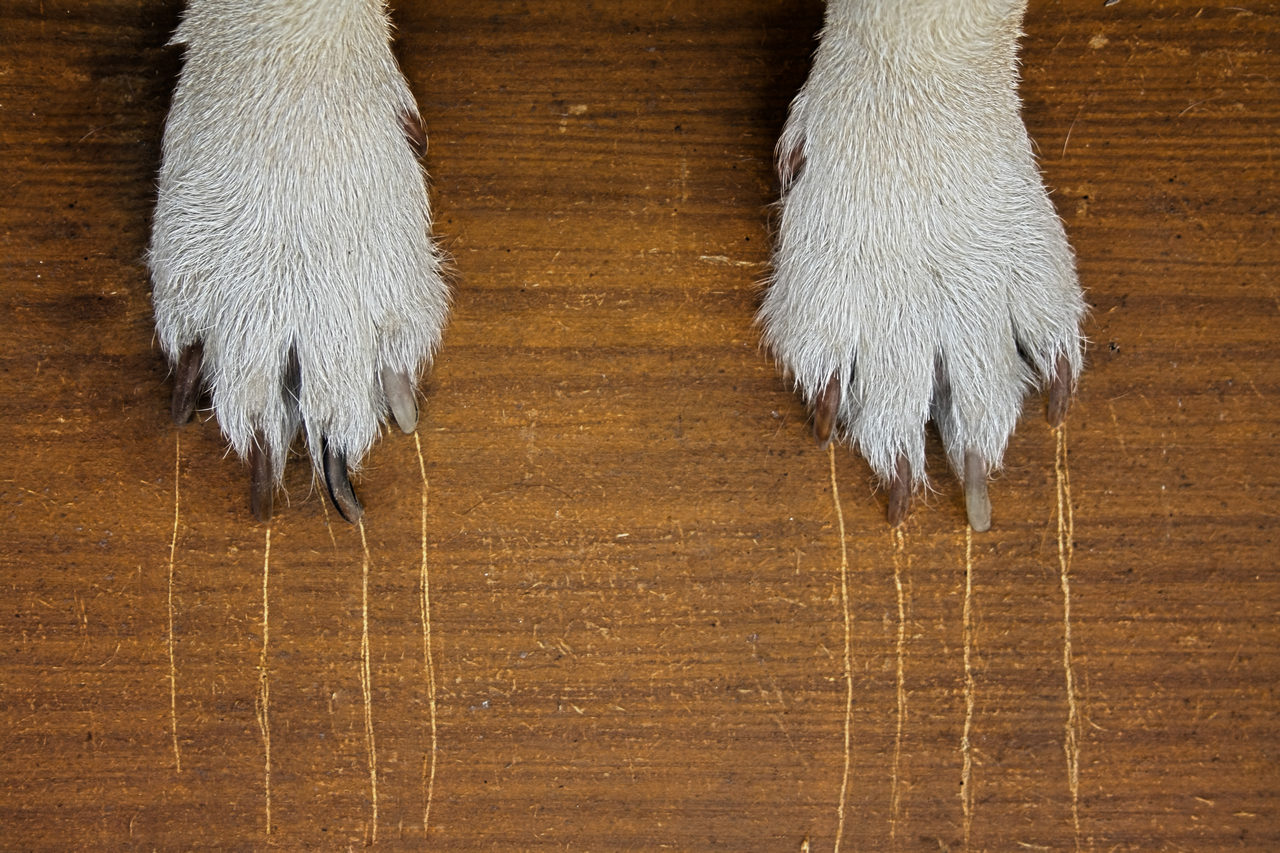
In the case of oil, since it penetrates the wood and crystallizes there, the wood is much more resistant and difficult to mark. That being said, should scratch marks or other scratches were to appear, localized repair is a very easy and quick process: a little sanding over the damaged area, followed by the application of a coat of oil. Even In the case of colored oils, the pigments penetrate deep into the wood, and a light local sanding will not affect the color.
Restoring a varnished floor vs. oiled: The clincher
The most important argument in favor of oil is calculated over the long term: It is the time spent maintaining and restoring an oiled floor compared to a floor that has been varnished. Ultimately, a varnished floor will inevitably need to be sanded back to bare wood and varnish will need to be reapplied. Of course, proper care will allow to keep it for 10 or 15 years, as long as it is never neglected to the point where some areas no longer have any protective film. However, there is a limit to the maintenance or the number of additional coats that can be applied to a varnished floor, because after a certain number of coats have accumulated on top on each other, the coating becomes too thick and loses much of its beauty.
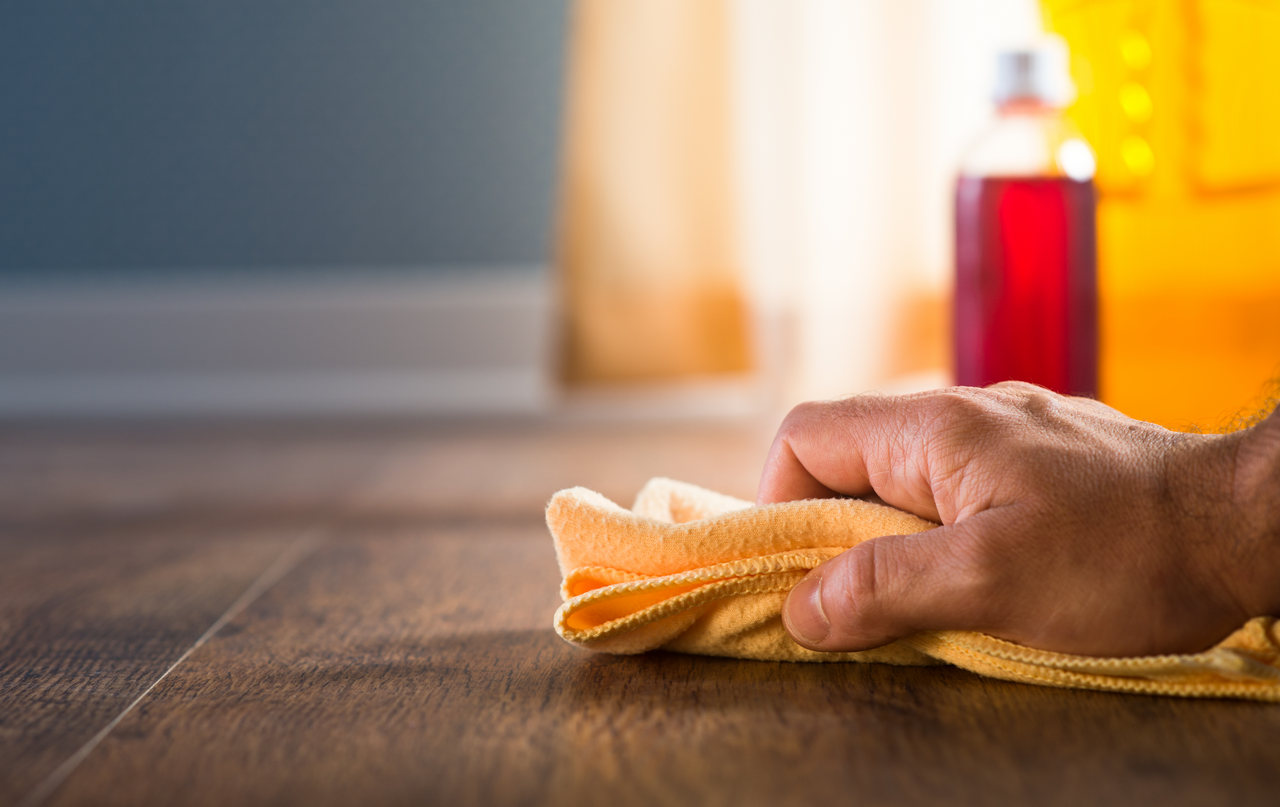
Since oil is an impregnating product, there is no film on the surface that can be broken. Therefore, maintenance, repair and restoration are greatly simplified. Well-maintained oiled floors won't have to be redone in 10 or 15 years. All you need to do is reapply a thin coat of oil every 3 years in the areas with the most foot traffic
(entryways, hallways, kitchens, stairs), and every 5 to 7 years in bedrooms and other less frequented areas.
To summarize, the time spent maintaining and restoring your floor over the years is a huge factor in favor of finishing oil, and this explains its steadily increasing popularity in North America and Europe.
I decided to go with oil for my wooden floors. Where to start ?
First, if you prefer a varnished floor, fear not! Varnish is still a great option and we'll have guide on this soon. Until it's ready, you can find other great resources online.
If you have determined that finishing oil is the best option for your wood floor, the next step is to choose the right product for you. Next, you'll have to determine the ideal color for your floor. Then, it will be necessary to prepare the floor depending on its current condition, and then move on to the application. Finally, care and maintenance should not be neglected in order to extend the lifespan of your oil finish as much as possible.
What is the best product for finishing my oiled floor?
Floor finishing oils vary greatly from manufacturer to manufacturer. The method of application, the number of coats, the drying time, the sheen, and the amount of VOC (volatile organic compounds) will therefore vary depending on the product you choose. In the next section, we will explore some of the products that are popular across Canada, to help you determine which one best meets your needs.
Uno and Secondo oils, from Prato-Verde
Prato-verde is a company based in Québec which offers a concept of natural vegetable oils (safflower, tung, flax) mixed with solvents, the main one being isoparaffin, a product also found in the production of cosmetics. It is an impregnating product, which will be absorbed up to 90% by the wood fiber.
Uno oil is a coloring oil which is used as an initial layer in order to to stain the wood. Once the wood has been tinted with Uno, Secondo (2 coats) or [Secondo Mono ]https://ardec.ca/en/p/616/secondo-mono-finishing-oil-for-wooden-floors?brand=3) (1 coat) will be used to protect colored wood. Secondo can also be used by itself if you want to keep the natural color of the wood. Prato-Verde oils are very easy to use since they do not require any tools other than an applicator pad and rags to wipe off the excess oil. This simplicity of use makes it very popular. After preparing the wood surface, apply a coat of the product, and after 15 minutes, completely wipe off what remains on the surface with cotton rags. The second coat can be applied after 24 hours.
Osmo Polyx-Oil
Osmo is an internationally renown German company that offers a very different concept from Prato-Verde oils. Although Osmo oils are also made from natural vegetable oils, they contain a different solvent, naphtha, which evaporates much faster than isoparaffin, in 8-10 hours, rather than 24 hours for Uno and Secondo oils. In addition, Osmo oils also contain wax, including carnauba wax, a product that helps to quickly clog the pores of wood, while the very thin film of oil will tend to remain on the surface, not unlike a varnish. On the other hand, Osmo oil, thanks to a revolutionary and patented manufacturing process, becomes extremely hard on the surface, rivaling the durability of polyurethane, hence the name of their most popular product, Polyx-Oil, which is meant to be a pun on polyurethane-based varnishes. Osmo oils have a distinctive feature: they are offered in two types of sheen: either matte or satin, which is not an option with other manufacturers.
Osmo offers a greater choice as to the method of application of their oils: it is possible to apply them with a brush with long, very wide bristles, with a 4mm thick roller, with a microfiber cloth or an applicator pad. The oil will be applied and smoothed to make sure it is applied evenly over the entire surface, and then allowed to dry for 8 to 10 hours before applying a second, final coat. It is therefore possible to completely finish a floor in one day if the work is well planned, and circulate on the floor the very next day. The application is a little bit more complex than with Prato-Verde products, but the work can be done much quicker.
Rubio Monocoat
A relatively new player in the Canadian market, Rubio Monocoat is a Belgian company specializing in finishing oils that has taken the world by storm with a linseed oil product designed using a revolutionary manufacturing technology. The result is an environmentally friendly, single-layer product that contains no VOCs. Its flagship product, Oil Plus 2C, contains a blend of oils as well as an isocyanate-based hardener. This hardener allows for much faster drying while allowing the oil to harden in an exceptional way.
Rubio Monocoat Oil Plus 2C is the ideal product for those looking for an ecological and economical product, without compromising on quality. Thanks to its patented manufacturing technology, Rubio Monocoat Oil Plus 2C adheres within minutes to the extreme surface of the wood thanks to a molecular bonding process, that is to say that the oil does not form a film on the surface yet does not saturate the wood either. This technology gives it a unbeatable covering power when compared to the competition, from 30 to 50 square meters per liter (320 to 540 square feet per liter). Rubio Monocoat Oil Plus 2C can be applied manually with a pad or brush, and can also be applied mechanically with a polisher.
Traditional oils: Linseed and Tung
They are not manufactured using revolutionary technologies, they make no such claims, but they have withstood the test of time. For this reason, linseed and tung oils still remain well appreciated products by some enthusiasts and purists, particularly for finishing the floors of cottages, rustic or ancestral homes.
They require a bit more work and the use of a separately purchased solvent, such as citrus solvent or [odorless thinner](https://ardec.ca/en/p/219/odorless-thinner, because used alone, they are too thick to apply. These products are less expensive, but also less efficient, in the sense that they offer less protection for a given number of coats when compared with other finishing oils. Even so, these products sell very well and many customers only swear by these oils and their long tradition of manual application. Tung and flaxseed oils are both clear when applied. However, flaxseed oil will develop a slightly orange hue over time, which is much appreciated by its users for the rustic look it provides. Both of these oils can be applied with a cotton rag, pad or stain applicator, and all excess oil should be completely wiped off 15 to 20 minutes after application.
Choosing your color: Samples and Color Tests!
In a world of infinite tastes, most manufacturers strive to offer a wide variety of colors to meet all customer preferences.
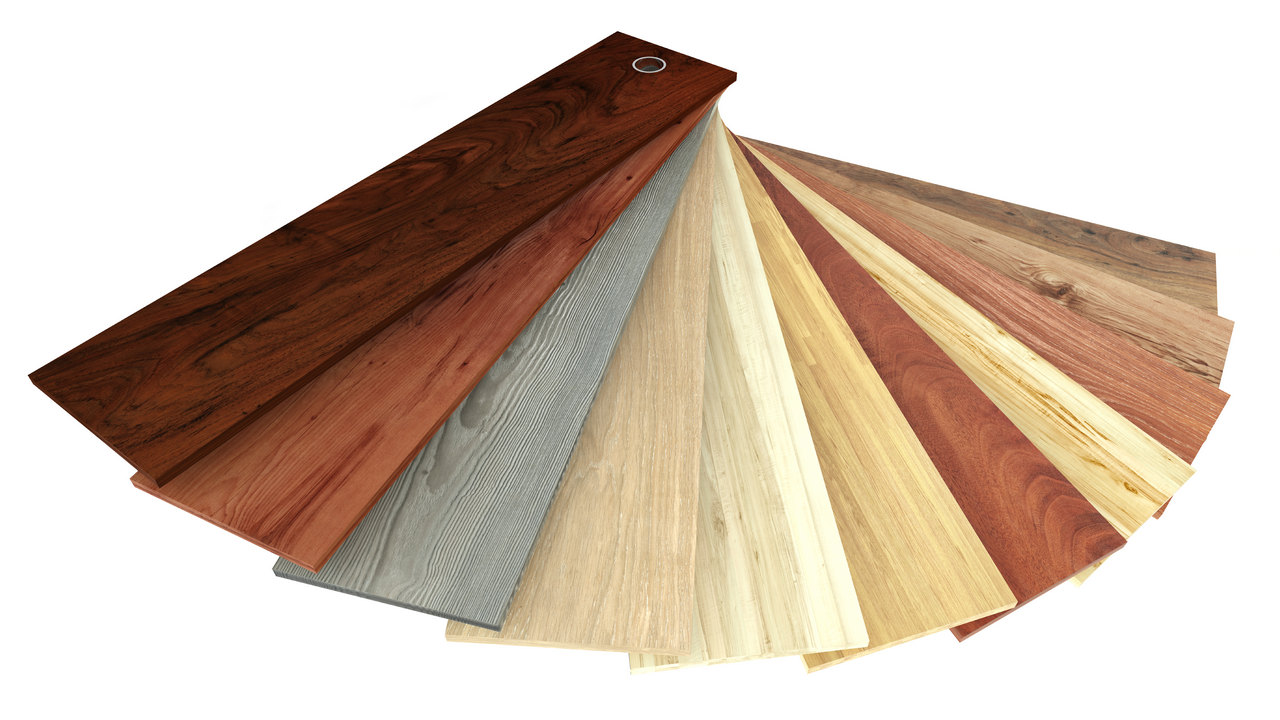
That being said, the numbers don't lie: Based on sales statistics, lighter shades such as natural, pure, cherry or old pine usually sell much better than darker shades. The reason is that these lighter colors allow more freedom in the arrangement of decorative elements and furnishings in a room, while darker colors slightly restrict these choices. It is for this reason that we usually recommend favoring lighter shades for customers who have never used oil finishes in the past, or that they at least proceed with a color test before going ahead with a finishing project involving darker shades (we will discuss this in detail a little below!). It should be noted that it is always possible to color an already lightly colored oiled floor with a darker color (by carrying out a light sanding beforehand), whereas the opposite is impossible, and will require a complete sanding. Something to keep in mind!
Some dark colors also sell very well, especially earthy colors, such as cappuccino or charcoal. They are more popular in new homes or condos, since these colors can be matched with walls, ceramics, moldings and other woodwork colors beforehand. In existing homes, darker shades are still possible, but the arrangement with all these elements will need to be considered before proceeding to avoid mismatches and weird contrasts. Ultimately, it all comes down to a matter of taste. This author is particularly fond of dark colors, but sometimes customers use a dark shade without testing first and are disappointed when it looks too dark. You have thus been warned!
Color tests: An important tool to avoid unnecessary expenses and disappointments
Before choosing the color of the oil that will cover your floors, it is important to understand that what you see on your screen when browsing on the manufacturer's or retailer's website will not necessarily match the final result on your floor. First, computer screens all vary in their color rendering. Compare the color of your choice on your desktop computer and on your tablet or cell phone screen, and you will most likely notice a significant difference (and don't get us started about night mode on your computer/mobile display!). In addition, the colors on the websites are applied on a particular species of wood, which may not match the wood of your floors, so results can vary greatly.
The good news is that several manufacturers and/or retailers offer samples of their products, which allow you to perform color tests on your own wood without spending a fortune. It's easy to skip this step, especially when you're excited about your finishing project, want it to be done ASAP and are confident that you have the right color. But as a retailer we can tell you this: All of our customers who have taken the time to perform color testing have no regrets, while of those who skip this step, 15% to 20% will contact us again, saying that they regret their decision because the color chosen does not correspond to their expectations: too dark, too orange, etc. Some color errors are easily fixed, but if it's too dark, the only fix is to sand everything again and start over. A test that takes 5 minutes to complete avoids all of these potential worries…
Preparing your floor before applying a finishing oil
Whether a floor is new or previously varnished/oiled with another color that you want to change, the same step applies in any case. Since the quality of the surface preparation will have a decisive impact on the end result, it is crucial to pay a lot of attention at this stage of the finishing process to ensure that it's done according to the acknowledged rules of the art.
This usually involves sanding the entire floor. Various types of abrasives must be used depending on the nature of the work to be done, such as 40, 80, 120 grit, but the important thing is not to exceed 120 grit, because it is this level of abrasion that opens the wood fiber in an optimal way, such as to allow the oil to impregnate the wood fibers. Sanding with a finer grain will result in partially glazing the surface, which will prevent penetration into the fiber and cause uneven coloring and protection. The floor sanding time will depend on the type of wood your floor is made of; thus, sanding on soft or resinous woods will be done relatively quickly compared to a maple or cherry wood floor, which is much harder and more resistant. There are also a few exceptions when it comes to sanding, especially when it comes to extremely dense and hard woods, such as maple and exotic woods, so it is always recommended to follow the manufacturer's instructions carefully, or to contact your retailer, should you be in doubt. That's what we're here for!
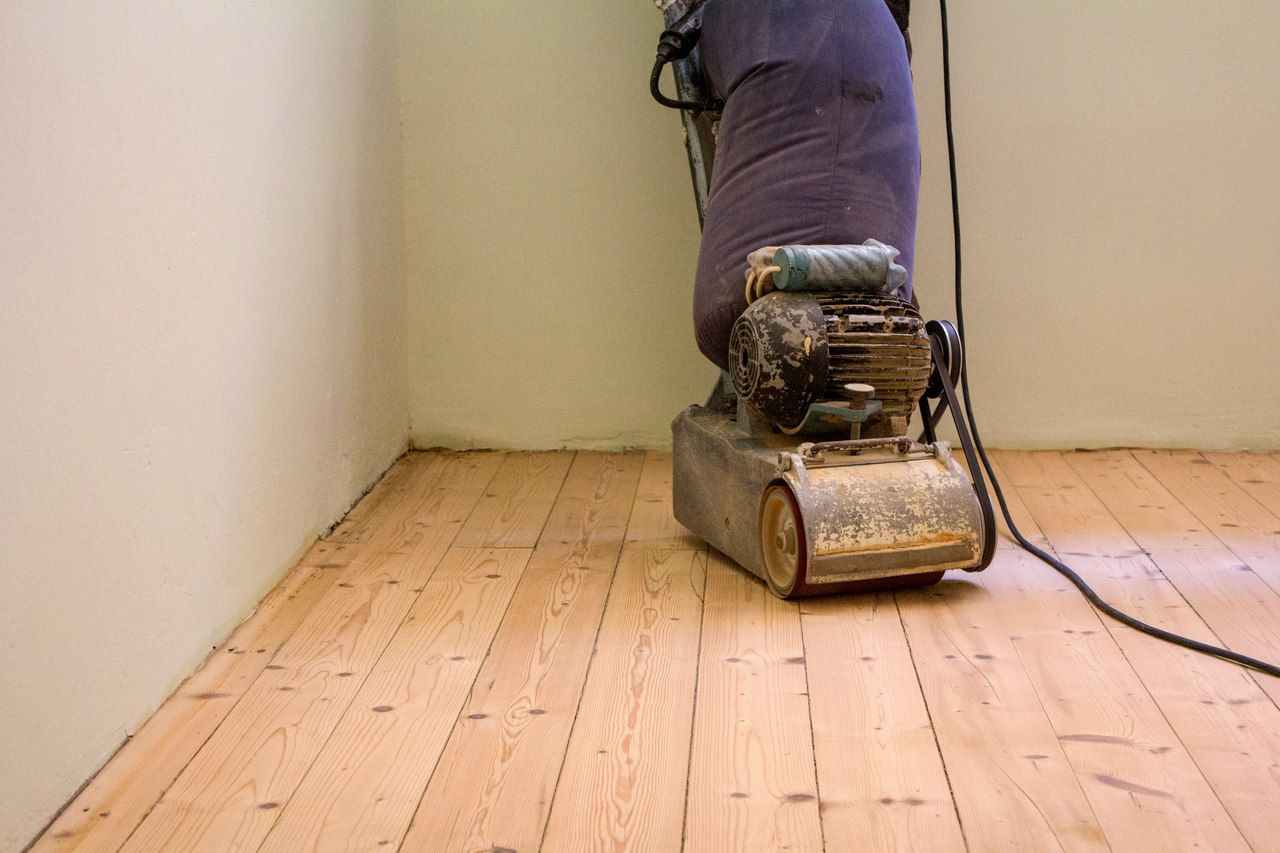
Sanding floors is almost always done using professional, mechanical equipment, that can be rented from a tool and equipment rental shop for around $50/day. Sanding is usually done using a vibrating plate, drum or belt sanding machine. Make sure you understand how to use the equipment before leaving the rental shop, and take the time to watch some videos on the subject to avoid damaging your floor or leaving sand marks that will prevent a quality finish. In short, ask your questions before renting, in order to find the best equipment (and the appropriate sandpaper) for your project.
We have recently published an in-depth article about sanding your own wooden floors, which should either help you get more comfortable with the whole process, or convince you to simply opt for a professional, depending on your gut feeling. In any case, it's a great read, take a look!
I'm not comfortable sanding my floor on my own...
Many consumers prefer to have their floors professionally sanded, simply to ensure that the job will result in a flawless finish. Sandblasting errors are still common for neophytes, so it may be worth leaving the task in the hands of experts, and focusing on the finishing yourself afterwards, since it is much simpler. According to our assessment (which is absolutely unscientific, but backed by our many years of experience in finishing), we can state that about a third of our customers prefer to outsource this work to professionals, while the rest prefer to do the sanding themselves. In both cases, the key is to make sure that the sanding is even and of good quality, and that the floor is completely dusted before proceeding to the application stage.
Application
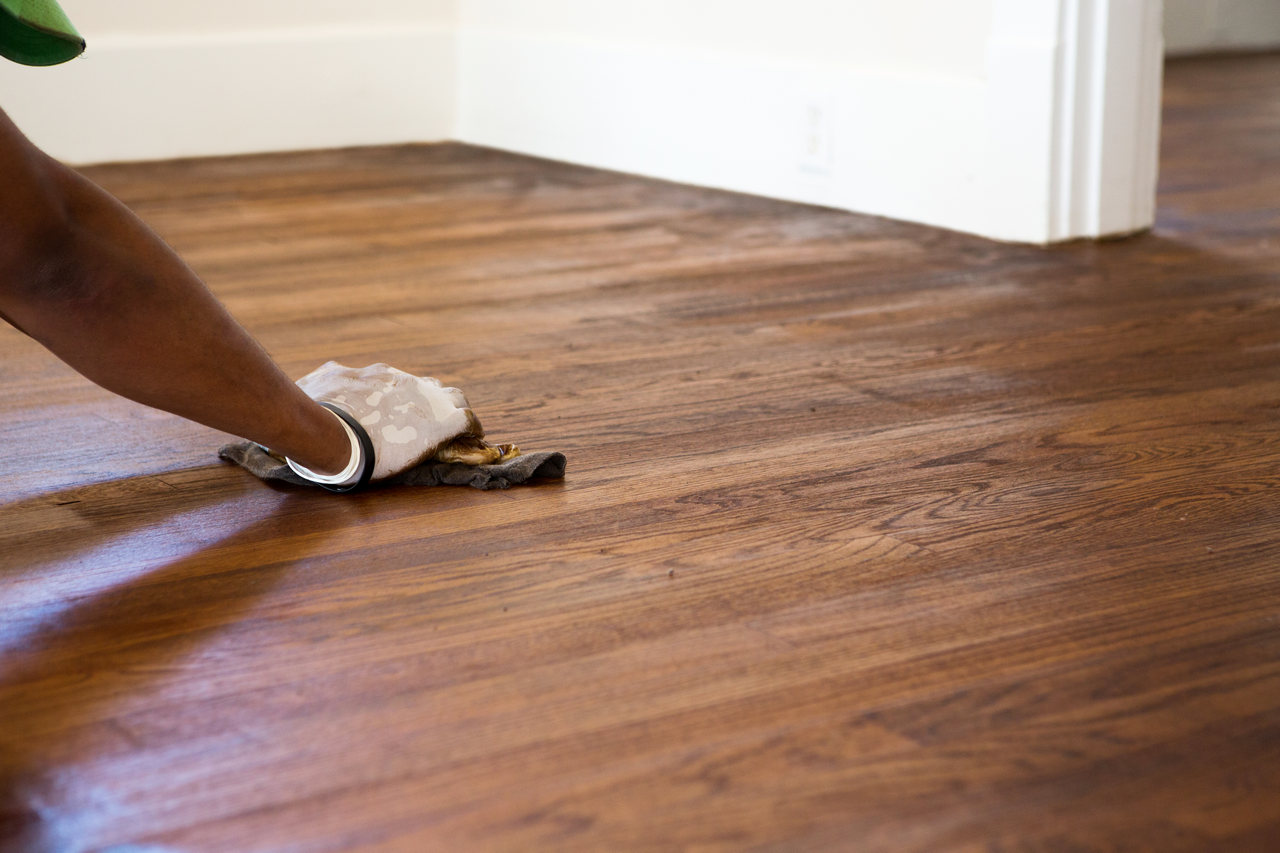
We previously noted that each product has its own application method. The crucial step before going ahead is to take the time to read the manufacturer's instructions carefully (and even a few times). Many great disappointments could easily be avoided if every customer bothered to take the time to carefully read the entire application process. But not you, since you're reading this article. Kudos to you! So go ahead, read a little, and if some of the instructions are not clear or don't make sense to you, don't hesitate to contact your retailer, or even better, contact us! There are no dumb questions. It's much better to take the necessary time to make sure you understand correctly rather than risk making a mistake and having to sand your floors all over again.
One element of note while we're here: It's normal during application to notice a smell reminiscent of vegetable oil. Odor sensitivity varies for everyone, but fear not. Once the oil has dried completely, after a few days, the smell will have completely dissipated.
Maintaining your oiled floors: The key to a long-lasting finish!
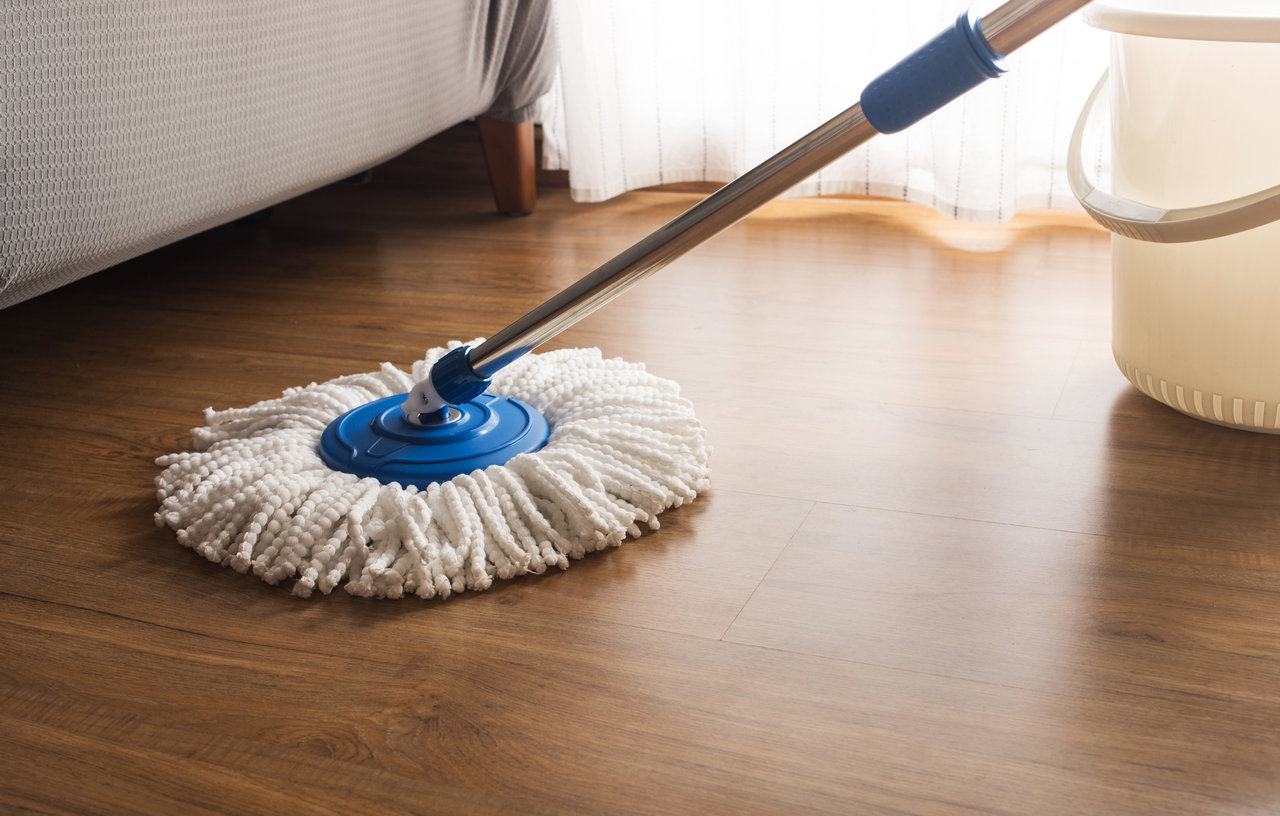
While sanding is a very important first step in ensuring a quality finish, maintaining your oiled wood floors is what will keep you enjoying them for as long as possible. Regular care with the right products will without any doubt extend the life of oiled floors by 2 or 3 years. Why? Because soaps designed specifically for oiled floors contain oils (often the same as those that make up the oil applied initially) which will help rehydrate the wood and thus prevent it from drying out. Wood is most vulnerable to abrasion and wear when it dries out, since the friction caused from everyday circulation will wear down the wood more quickly (especially if you keep using footwear indoors). Cleaning the floors weekly (or bi-weekly on less busy floors) will therefore allow the wood to stay hydrated and ensure that the finish does not wear out quickly.
On the other hand, protectors, which should be used every 6 to 8 weeks depending on the foot traffic, contain a higher concentration of oil. When applied, it is similar to reapplying a thin coat of oil to the floor, which significantly extends the life of the finish. In short, if you keep your shoes indoors, and you have pets, it is better to apply more often than less since ultimately, it's much quicker than having to re-apply oil on the entire floor, which means removing all the furniture from the room and waiting for it to dry…
Considering finishing your wood floor with finishing oils?
We hope this article has answered your questions regarding finishing and restoring wood floors with oils. If you're planning a finishing project in your home or condo, do not hesitate to contact us so that we can guide you through all the stages of your project. You can also visit our discussion board to ask your questions or take a look at several floor finishing projects undertaken by our customers who have been kind enough to share them with us. Happy finishing!
